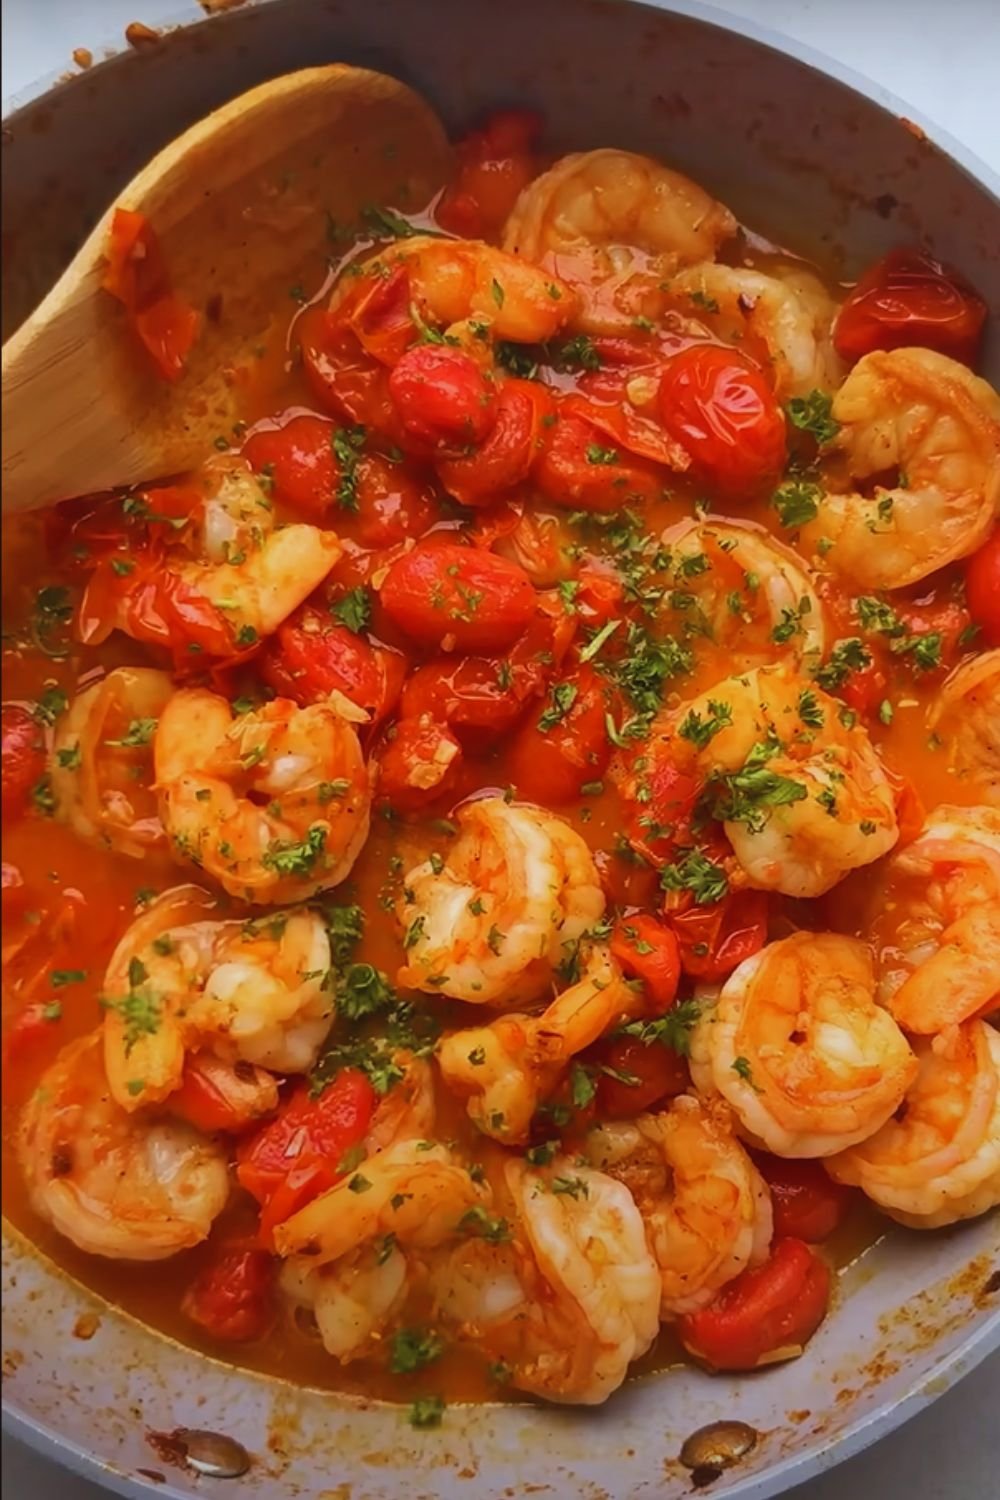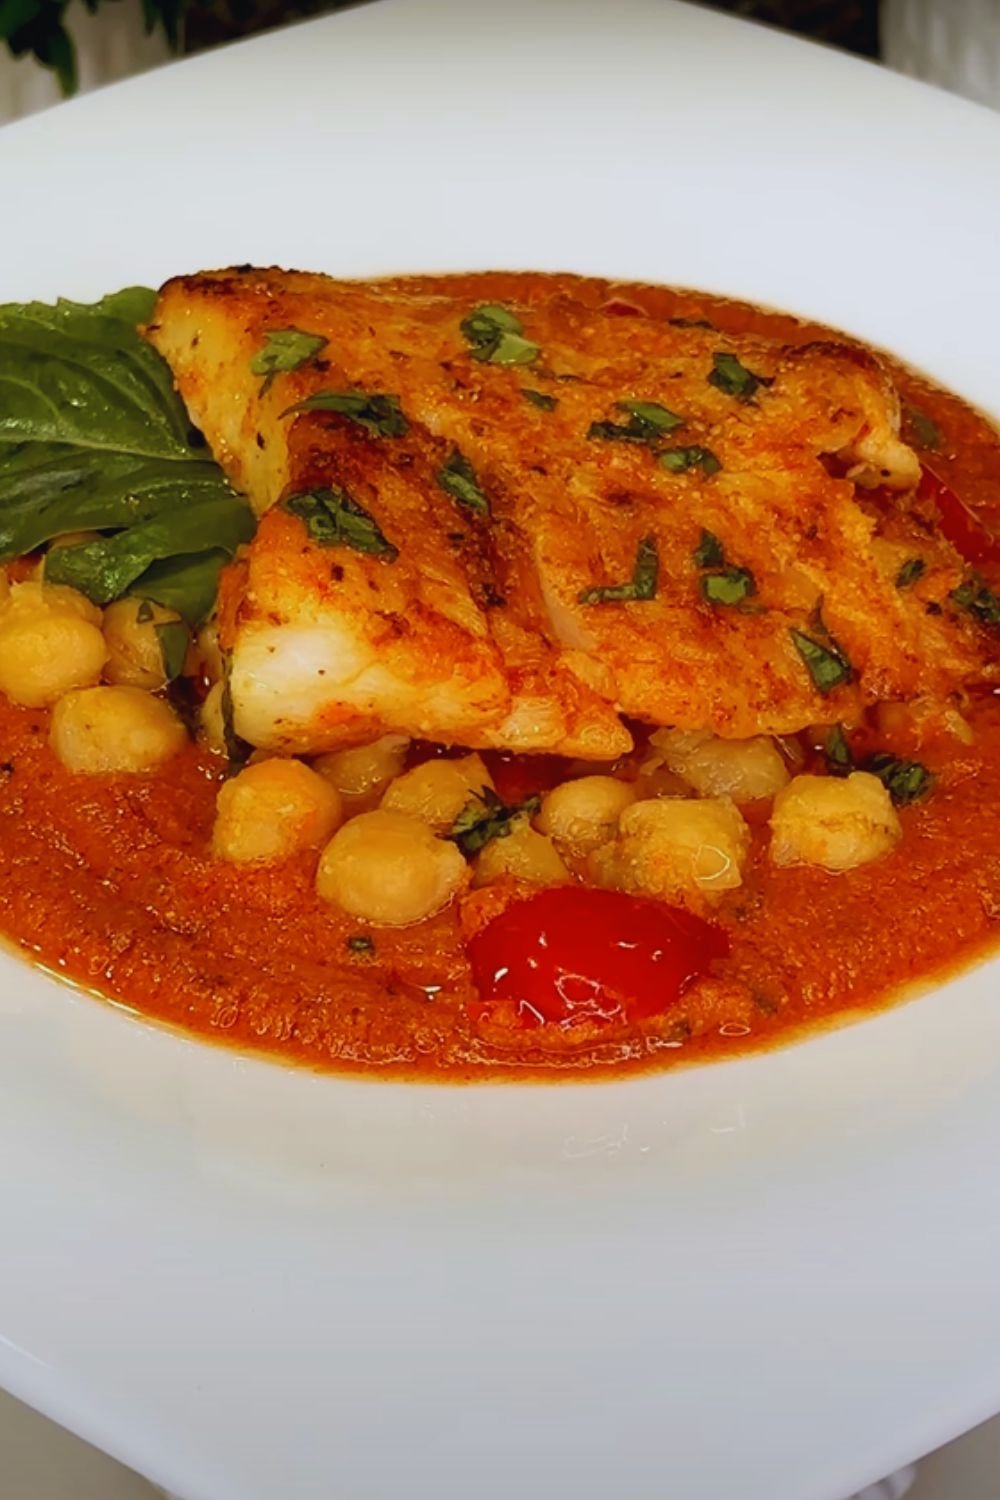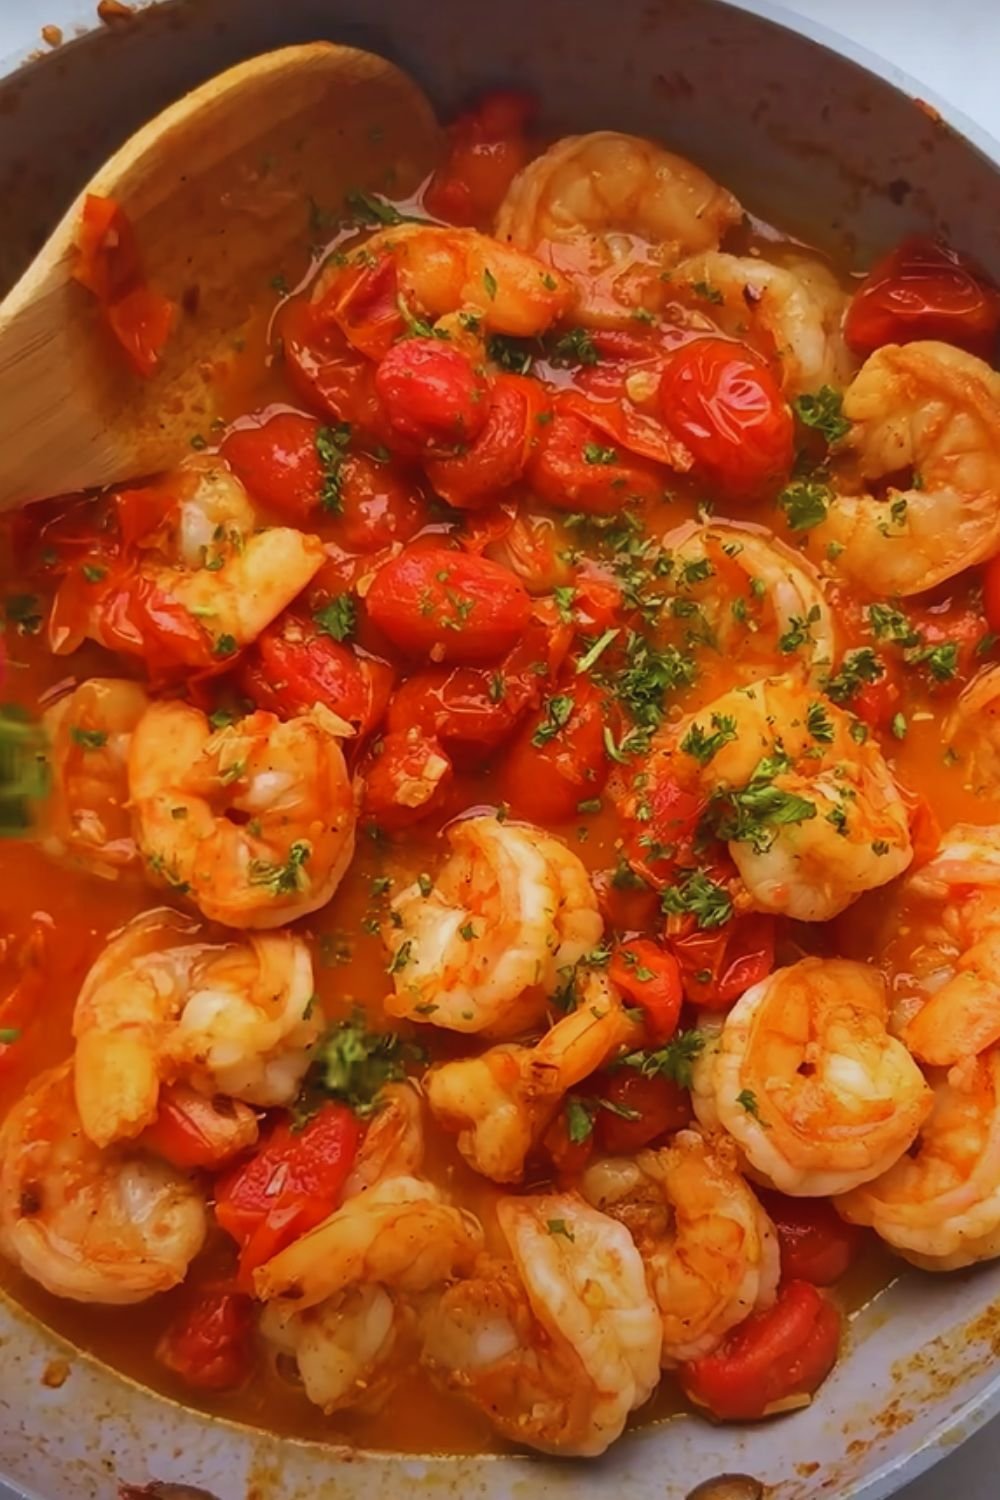
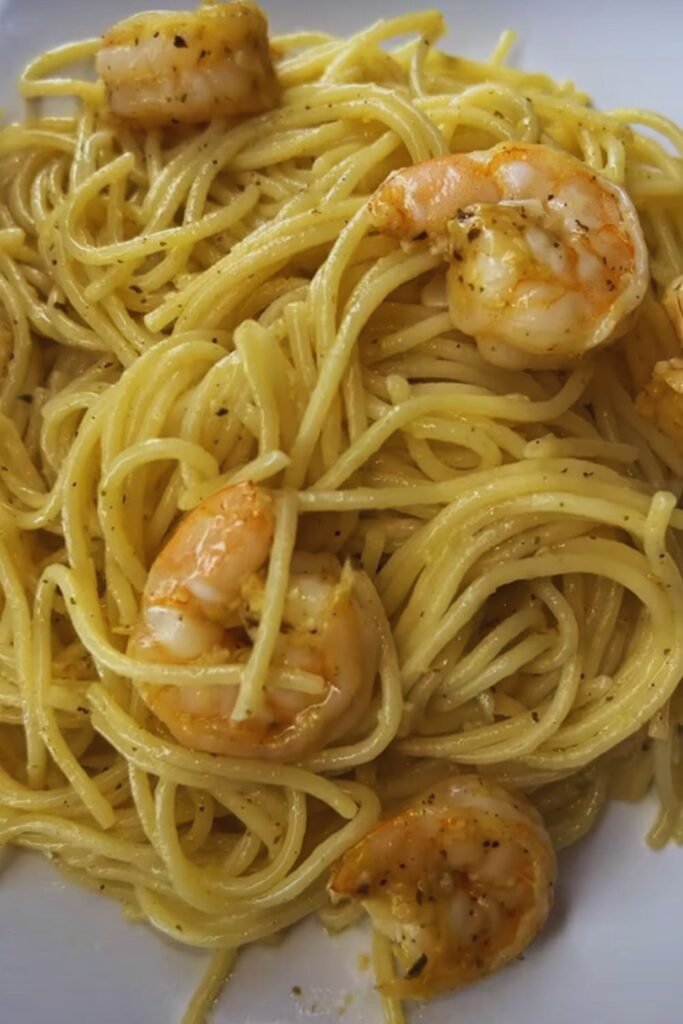
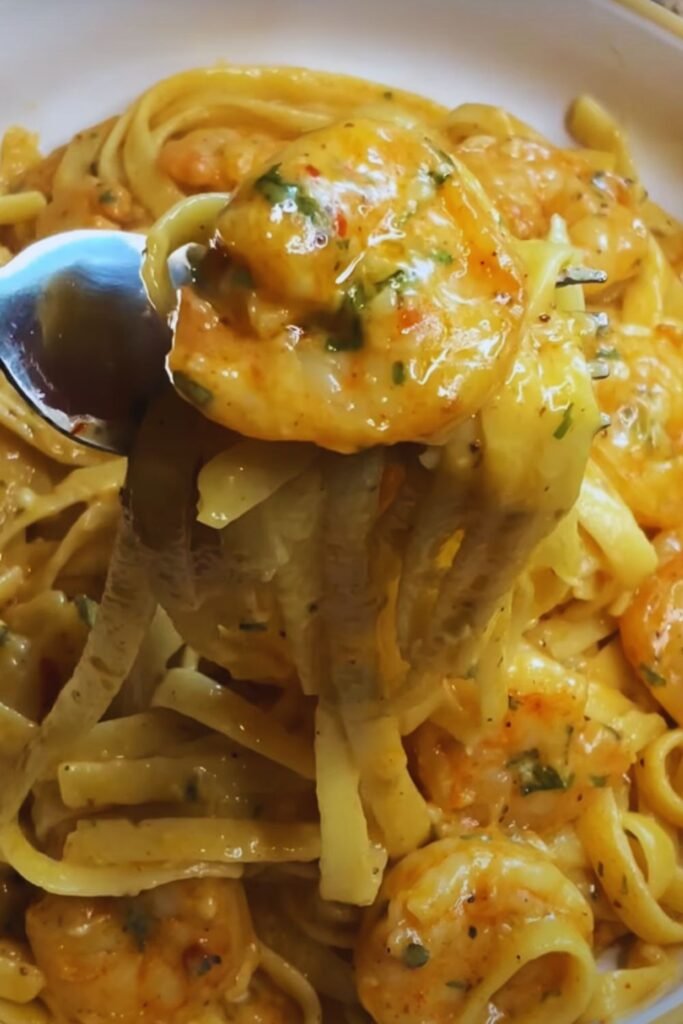
There’s something magical about the combination of succulent shrimp, aromatic garlic, and perfectly cooked pasta that makes my heart sing. Today, I’m excited to share my foolproof recipe for garlic butter shrimp pasta – a dish that never fails to impress both family and guests. This Mediterranean-inspired comfort food brings together the sweetness of shrimp, the richness of butter, and the warmth of garlic in a harmonious blend that’s both sophisticated and surprisingly simple to prepare.
The Secret Behind Perfect Garlic Butter Shrimp
Before diving into the recipe, let me share why this particular combination works so wonderfully. The key lies in the timing and temperature control. I’ve spent years perfecting this recipe, learning that the secret to juicy shrimp lies in avoiding overcooking, while the garlic needs just enough heat to become fragrant without burning. The butter acts as more than just a sauce – it’s the crucial element that brings everything together, creating a silky coating that clings perfectly to both the pasta and shrimp.
Essential Ingredients
| Ingredient | Amount | Notes |
|---|---|---|
| Large shrimp | 1 pound | Peeled and deveined (16-20 count) |
| Linguine or spaghetti | 1 pound | High-quality pasta recommended |
| Fresh garlic | 8-10 cloves | Finely minced |
| Unsalted butter | 1/2 cup | European-style preferred |
| Extra virgin olive oil | 1/4 cup | Cold-pressed recommended |
| Fresh parsley | 1/2 cup | Finely chopped |
| Red pepper flakes | 1/4 teaspoon | Adjust to taste |
| Lemon | 1 whole | For juice and zest |
| Sea salt | To taste | Preferably flaky sea salt |
| Black pepper | To taste | Freshly ground |
| Reserved pasta water | 1 cup | Essential for sauce consistency |
Kitchen Equipment Needed
| Equipment | Purpose |
|---|---|
| Large pot | For cooking pasta |
| Large skillet or sauté pan | For cooking shrimp and sauce |
| Colander | For draining pasta |
| Garlic press or sharp knife | For mincing garlic |
| Microplane or zester | For lemon zest |
| Wooden spoon | For stirring |
| Kitchen thermometer | Optional but helpful |
Step-by-Step Instructions
Preparing the Pasta
- Bring a large pot of water to a rolling boil
- Add 2 tablespoons of salt to the water
- Cook pasta according to package instructions, minus 1 minute
- Reserve 1 cup of pasta water before draining
- Drain pasta and set aside, tossing with a small amount of olive oil to prevent sticking
Preparing the Shrimp
- Pat shrimp dry with paper towels
- Season with salt and pepper
- Ensure shrimp are at room temperature before cooking
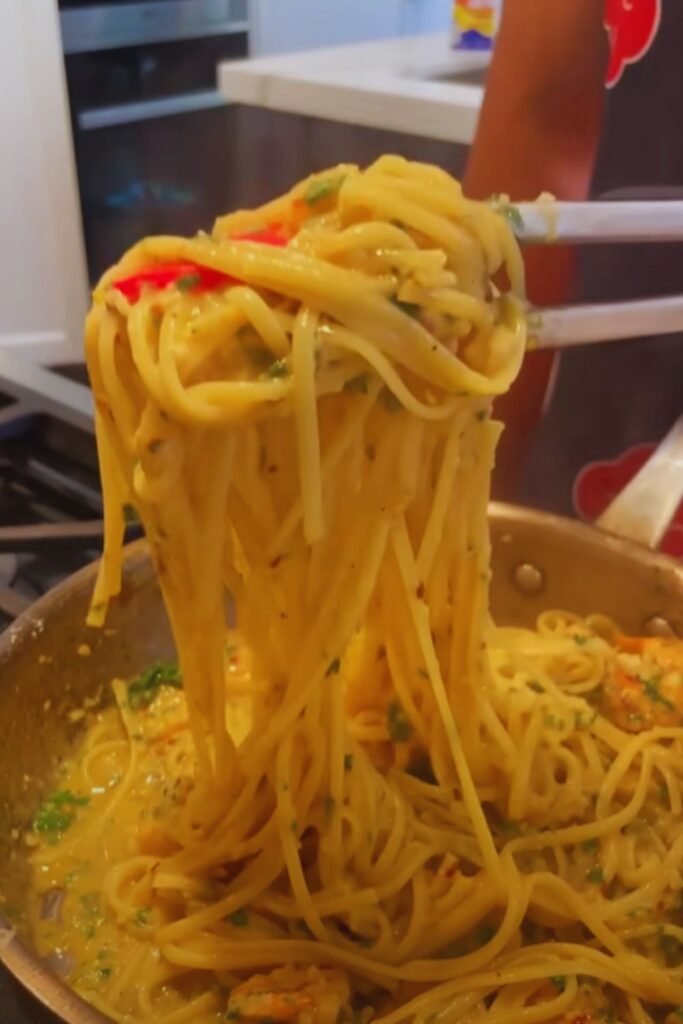
Making the Garlic Butter Sauce
- Heat large skillet over medium heat
- Add 2 tablespoons olive oil and 2 tablespoons butter
- Once butter melts, add minced garlic
- Cook garlic until fragrant (30-45 seconds)
- Add red pepper flakes
- Add shrimp in a single layer
- Cook 2-3 minutes per side until pink and slightly curled
- Remove shrimp and set aside
Finishing the Dish
- In the same pan, add remaining butter
- Once melted, add lemon zest
- Add cooked pasta and toss to coat
- Add reserved pasta water gradually while stirring
- Return shrimp to pan
- Add fresh parsley and lemon juice
- Toss everything together until well combined
- Adjust seasoning to taste
Pro Tips for Success
- Temperature Control: Keep your heat at medium to medium-high to prevent burning the garlic
- Pasta Water: The starchy water is crucial for creating a silky sauce
- Shrimp Selection: Look for fresh or properly thawed frozen shrimp with a firm texture
- Timing: Have all ingredients prepped before starting to cook
- Storage: While best served fresh, leftovers can be stored for up to 2 days
Nutritional Information
| Nutrient | Amount per Serving |
|---|---|
| Calories | 420 |
| Protein | 28g |
| Carbohydrates | 48g |
| Fat | 16g |
| Fiber | 2g |
| Sodium | 580mg |
| Serving Size | 1.5 cups |
Variations and Substitutions
- Pasta Options: Switch to whole wheat or gluten-free pasta
- Protein Alternatives: Try scallops or chicken
- Vegetable Additions: Add cherry tomatoes, spinach, or asparagus
- Dairy-Free: Use olive oil and a splash of vegetable stock instead of butter
- Heat Level: Adjust red pepper flakes or add cayenne for more heat
Serving Suggestions
- Garnish with extra fresh parsley and lemon wedges
- Serve with a fresh green salad
- Add a side of garlic bread
- Finish with freshly grated Parmesan cheese
- Include steamed vegetables as a side dish
Common Questions and Answers
Q: Can I make this dish ahead of time?
A: While it’s best served fresh, you can prep the ingredients ahead. Cook just before serving for optimal results.
Q: How do I prevent the shrimp from becoming rubbery?
A: Don’t overcook them! Remove from heat as soon as they turn pink and curl into a loose ‘C’ shape.
Q: What’s the best type of pasta to use?
A: Long pasta like linguine or spaghetti works best as it holds the sauce well, but any pasta shape will work.
Q: Can I use pre-minced garlic?
A: Fresh garlic provides the best flavor, but pre-minced can work in a pinch. Reduce the amount by half.
Q: How spicy is this dish?
A: With the recommended amount of red pepper flakes, it’s mild. Adjust the amount to your preference.
Troubleshooting Tips
| Problem | Solution |
|---|---|
| Sauce is too thick | Add more reserved pasta water gradually |
| Sauce is too thin | Continue cooking to reduce, or add a pat of cold butter |
| Garlic burns | Lower heat immediately and start over with fresh garlic |
| Shrimp not cooking evenly | Ensure they’re similar in size and at room temperature |
| Pasta clumping | Use more pasta water and toss frequently |
Storage and Reheating
While this dish is best enjoyed fresh, sometimes leftovers are inevitable. Here’s how to handle them:
| Storage Method | Duration | Notes |
|---|---|---|
| Refrigerator | 2 days | Store in airtight container |
| Freezer | Not recommended | Affects texture of shrimp and pasta |
| Reheating | Gentle heat | Add splash of water when reheating |
Remember, pasta will continue to absorb sauce during storage, so you may need to add a little olive oil or butter when reheating.
I hope this detailed guide helps you create a spectacular garlic butter shrimp pasta that will have your family and friends asking for seconds. Remember, cooking is about enjoying the process as much as the result, so take your time and have fun with it!